Common Tools for Chase Cover Installs
July 19, 2023

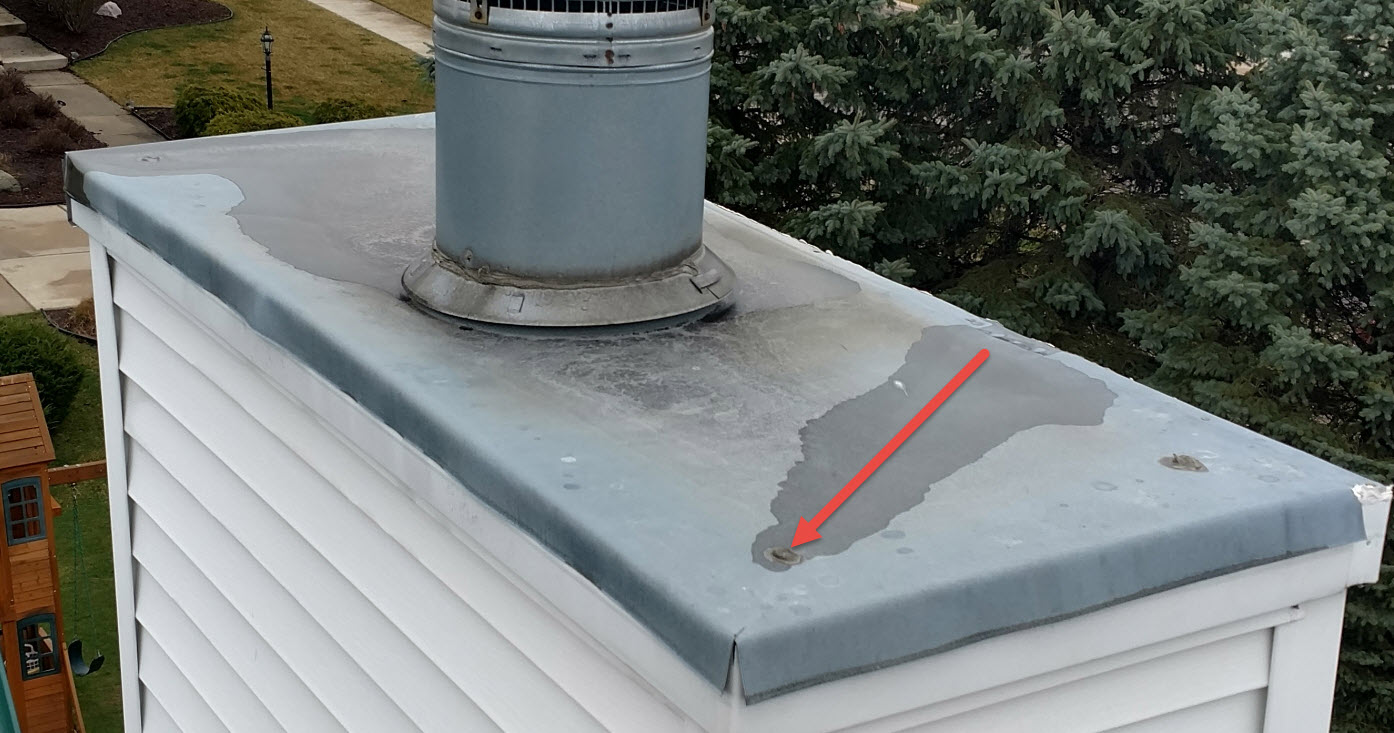
If you are starting to notice the unsightly rust stains bleeding down from the top of the chimney chase, or your chimney crown is cracking, it is time to start thinking about installing a new chimney cover. Eventually, the old galvanized chimney cover will rust through the top of the chimney creating bigger problems than just unsightly stains. Luckily for you, replacing a chimney cover is not a hard job to do. In most cases, the job requires very basic tools found in the tool box of most DIY homeowners.
Removing the Existing Chase Cover
Removing the existing rusty chase cover is often times the more difficult part of the job. You will need a drill with various bits to remove the chimney rain cap. The most common screw for a chimney cap is a 1/4" hex head. It is very common for Phillips head screws to be used as well.
For removal of the existing chimney cover, generally you will need a pry bar or a hammer if they used nails to attach the cover to the chimney chase. Sometimes, you will find chase covers attached with screws.
Removing the Storm Collar
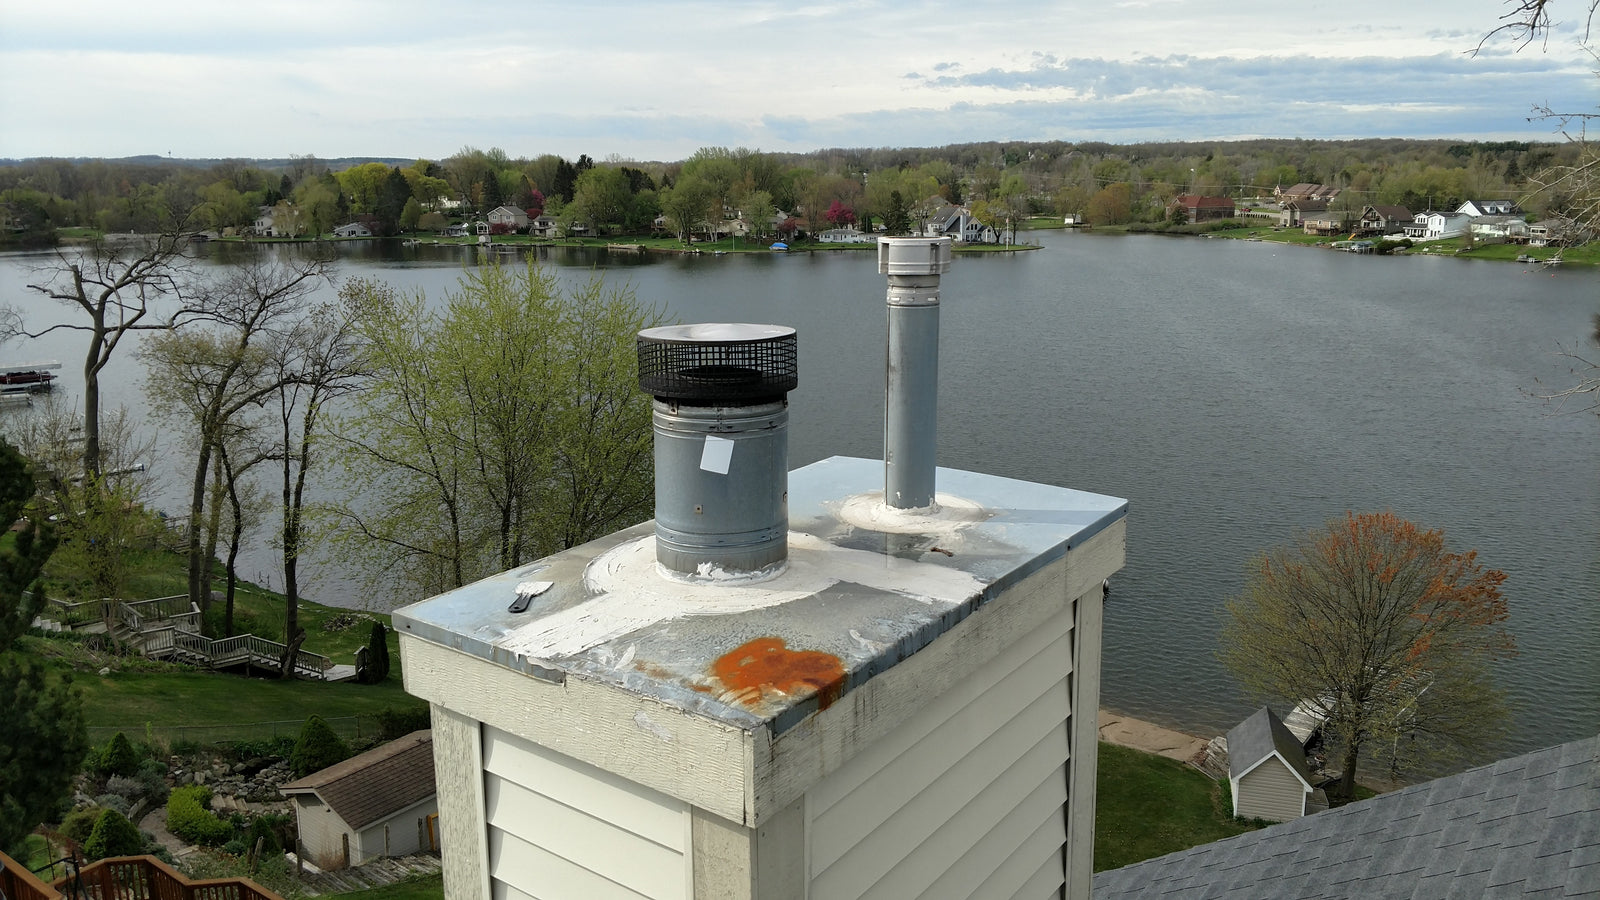
Chase covers with an existing storm collar can be tricky to remove. Often times, there is an abundance of tar or sealant over years of patching a leak. Typically, you can use simple tin snips to cut the existing storm collar off. In cases where there is a lot of tar, the best tool to use is an angle grinder with a cutoff wheel to cut off the storm collar. A chisel is also very helpful for removing the storm collar. You can use the chisel to break the silicone bead to cut the storm collar loose.
Installing the New Chase Cover
Once the new stainless steel chase cover is in place, you can use a drill and drill bit to tap through the side skirt to screw the cover to the chase. Many installs find that using a steel cutting 1/8" drill bit with a pilot point starter tip is the best route to go. These prevent the drill bit from dancing around on the stainless steel. The best screw to use would be a #8 stainless steel screw with a 5/16" hex head and 2.5" long. Other screws can be used, this is simply our best recommendation. The hex head makes it easy if you have to lay over the chimney or if you are in a precarious position when you are running the screws in through the skirt.
Installing the New Storm Collar
Once the chase cover is affixed to the chimney, one of the last tools you will need is going to be a caulk gun. Once the storm collar is in place around the flue pipe and above the chase cover hole, you can use the caulk gun to apply a bead of silicone around the perimeter of the storm collar where it meets the flue pipe. Don't forget to take a rag with you up top in case you get a little messy with the silicone.
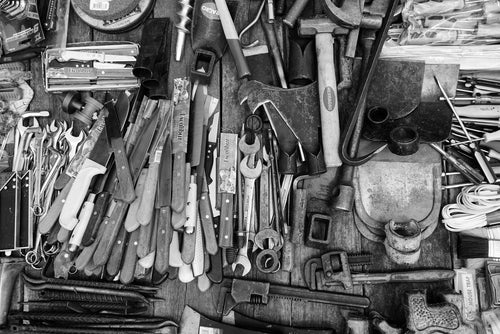
To summarize, here is a list of tools to carry for any chase cover installation:
- Pry Bar / Hammer
- Various screw driver bits
- 1/8" steel cutting drill bit with pilot point starter tip
- Drill or impact driver
- Angle grinder with cut off wheel
- Tin snips
- Chisel
- Caulk gun
- Rag
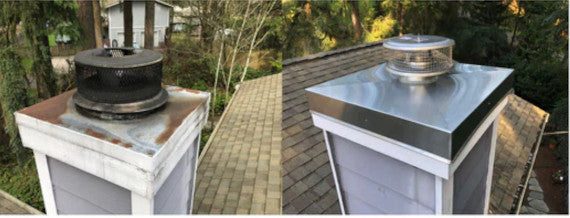
Before and After Chase Cover Installations

DIY Center
(AKA ‘The Rockford Files’)
From video tutorials to product walkthroughs, we have a variety of DIY resources just for you! Click the button below to view our entire library.


